A practical staging and preparation checklist for architects, builders, and designers.
The photography that represents your completed project will serve your firm for years. It will live on your website, appear in award submissions, show up in proposals, and circulate on social media. The quality of that photography depends on what happens before the photographer arrives as much as what happens during the shoot.
The work you do in the days and hours before the shoot has as much influence on the final images as anything the photographer does on the day.
Two Weeks Before: The Site Walk
A site visit two weeks prior allows the photographer and client to walk the project together and identify potential issues. During this visit, examine:
- Landscaping completion status
- Construction debris or materials still on site
- Light fixture installation and functionality
- Unfinished details: baseboards, switch plates, grout lines
Two weeks provides enough runway to address minor issues that would otherwise require extensive post-production work or compromise the images entirely. A missing light fixture or unfinished grout line takes minutes to fix on site but hours to retouch in post.
One Week Before: The Punch List
This is a comprehensive walkthrough focused on cleanliness and completeness.
Exterior
- Clear all construction debris, vehicles, and dumpsters
- Tidy landscaping and mow lawns
- Clean driveways and walkways
- Power wash surfaces that accumulated construction dust
- Verify all exterior lighting is functional
Windows
Clean every window, inside and out. This is critical. Dirty windows show as haze, streaks, or spots in photographs, particularly when they're backlit. Professional window cleaning is strongly recommended.
Interior Surfaces
- Dust all horizontal surfaces: shelving, countertops, millwork
- Clean fingerprints from stainless steel appliances
- Wipe cabinet fronts
- Vacuum and mop all floors
- Remove scuffs from hardwood
Fixtures and Details
- Confirm all light fixtures are installed with appropriate bulbs and consistent colour temperature
- Install switch plates, outlet covers, and vent covers
- Align and tighten cabinet hardware
- Remove protective films from appliances and fixtures
The Day Before: Staging
Staging principles for architectural photography emphasize minimal, intentional decoration.
Less is more. The most common staging mistake is overdoing it. A few carefully chosen objects in each space are far more effective than filling every surface.
Key staging guidance:
- Colour selections should complement the existing palette of the space
- Remove all utilitarian items: garbage bins, cleaning supplies, toiletries, remotes, chargers
- Fresh, neatly folded towels in bathrooms
- Made beds with clean, minimal linens
Morning of the Shoot: Final Check
All lights on with consistent colour temperatures
Blinds and shades at uniform positioning
Thermostat off or set to neutral (HVAC off for video to eliminate noise)
Clear the property of pets and people
Remove all vehicles from the driveway and surrounding area
What to Expect on Shoot Day
Typical residential shoots run six to ten hours. The photographer typically starts with morning interiors in east-facing rooms, follows the sunlight through the day, shoots exteriors during golden hours, and captures twilight photography 30 to 45 minutes after sunset.
Trust the photographer's process. They've planned the day around light conditions and will move through spaces in an order that maximizes natural light quality. Avoid over-directing. The best results come from a collaborative dynamic where the photographer has creative latitude within the framework of the agreed shot list.
The Homeowner Conversation
For occupied properties, clear communication with the homeowner is essential:
- Explain the full-day duration of the shoot
- Set expectations about personal item removal and temporary staging
- Note that all rooms, including bathrooms, will be photographed
- Request that pets be off-site for the day
- Frame the shoot as a celebration of their investment in quality design
Weather Contingency
For BC projects, overcast conditions actually benefit interior work by providing soft, even light without harsh shadows. The guide recommends scheduling backup dates within the same week for exterior-dependent shots.
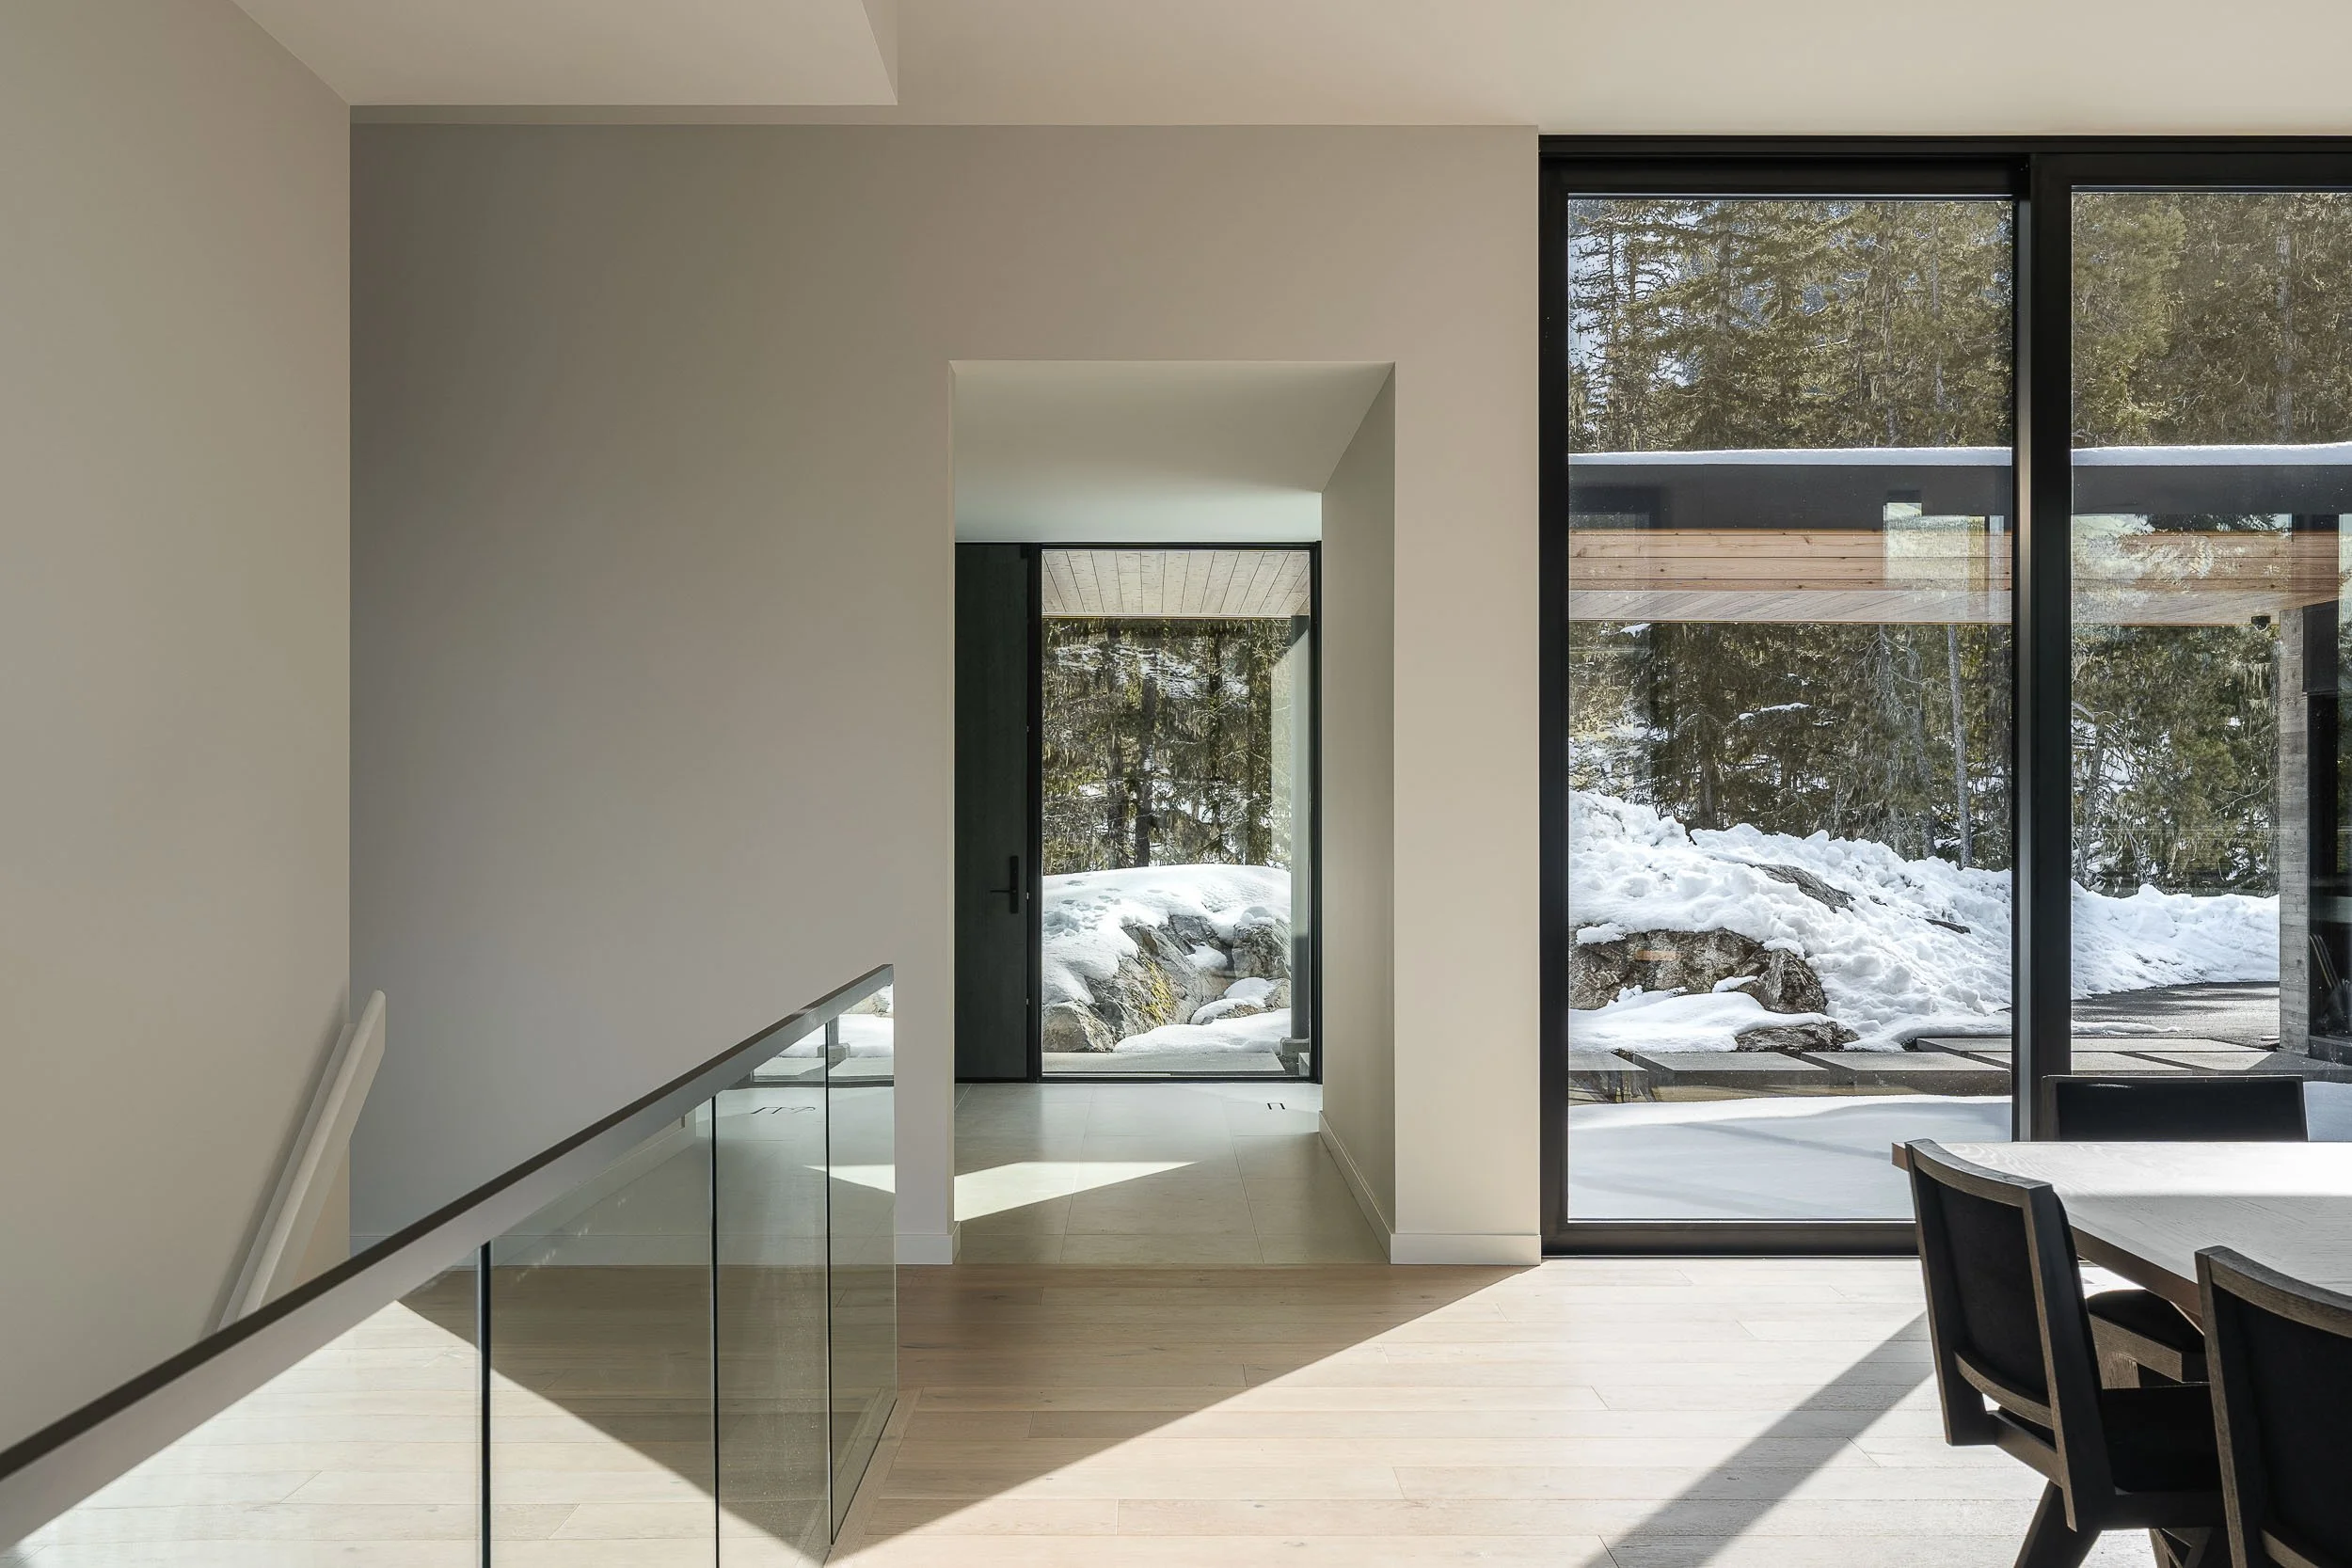
Snow in higher elevations is an opportunity rather than an obstacle. Fresh snow creates clean, dramatic exterior compositions. The optimal window is 24 to 48 hours post-storm, when the snow is settled but still pristine.
After the Shoot
Images typically deliver within one to two weeks. To make the most of the process:
- Communicate any deadlines (award submissions, website launches) upfront
- Review the images carefully when delivered
- Raise any concerns immediately
- Ask the photographer to explain compositional choices if you're curious about specific decisions